This is going to be an awkward post, so prepare yourself accordingly.
I was asked by Quadrille Craft if I wanted a copy of the book Sew Your Own Scandi Wardrobe by Oda Stormoen and Kristin Vaag.

This is going to be an awkward post, so prepare yourself accordingly.
I was asked by Quadrille Craft if I wanted a copy of the book Sew Your Own Scandi Wardrobe by Oda Stormoen and Kristin Vaag.
Hello friends, it's time for another blog post which means I have a bit more than normal to say about this pattern. You can call it an extended review.
I have talked before about being cautious to try out new to me pattern designers. I have quite firm ideas about how I like patterns to be drafted (aka correctly, lol) and it greatly ruins my sewing experience when I get my hands on a not up to par sewing pattern. Especially because of my promise to always be honest about the experience. I HAVE to talk about it because my integrity as an honest sewing blogger is something I value greatly. Honestly, what is the point of a review if it only mentions the good things?!
Now I don't only write honest reviews if there's something wrong with the drafting. It can be smaller things too, and much more personal opinion based. And this post is one of those examples.
Today's post is an example of how a simple shape can sometimes cause some troubles if you don't happen to fit the original draft. And when it comes to raglan sleeves, I rarely do. When a shape is simple there are no design details to hide or distract from the fit issues.
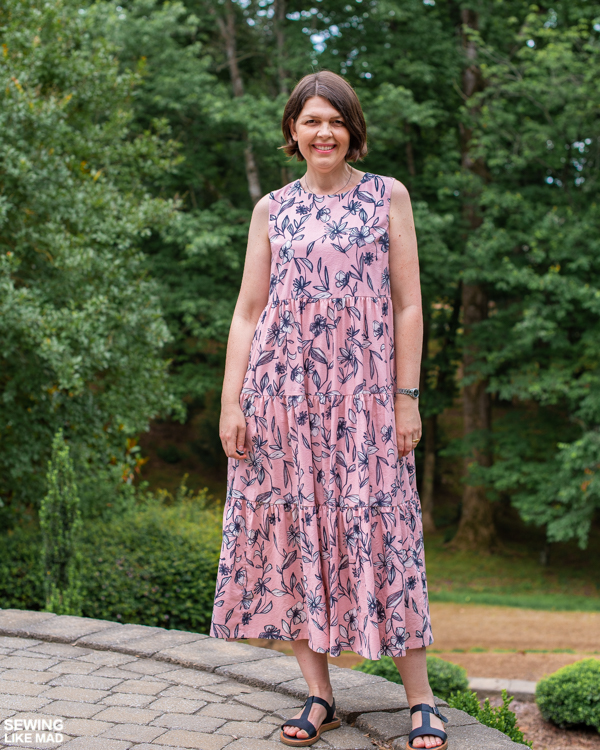
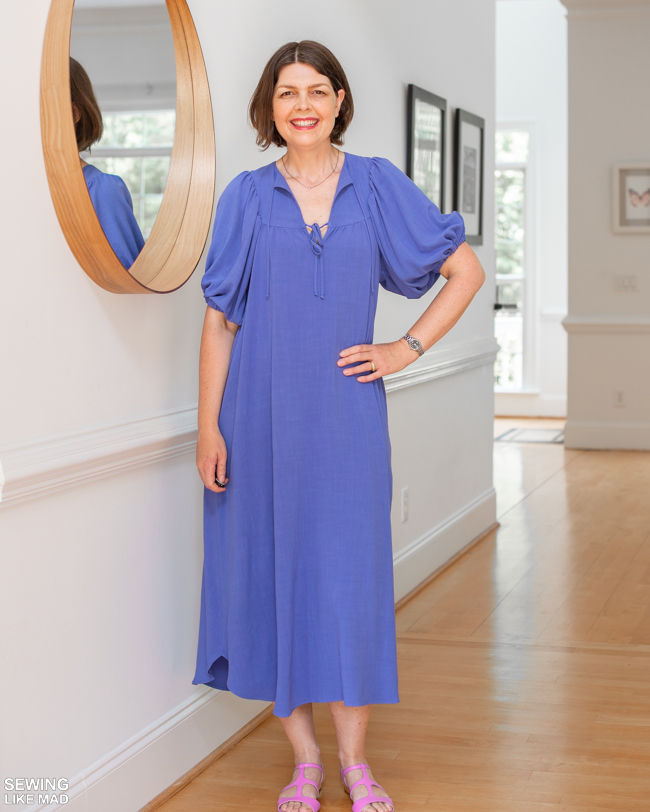
The Hope Woven Dress from StyleArc is a popular style exactly because of its simplicity. Deep 3/4-length raglan sleeves, a gathered skirt and a facing in the neckline. A fast make and a relaxed and comfortable style.
I want to be clear from the start, this is not one of those 'honest reviews' where there is a problem with the pattern. This is a post to show you how I adjusted part of a pattern to fit my body. It's more normal than not, that we don't fit the standard draft. Or we fit them in some areas and not in others. Especially because standard drafts vary from company to company. I think we are all looking for that company where however our body is, fit their standard as much as possible. I felt I found that with StyleArc but that does not mean I don't have to do adjustments. Certain things we almost always have to do, for me it's usually length (I'm 5'10"/178 cm tall). Or if I'm making non-elastic pants I have to blend sizes between waist and hips because those two areas do not fit into the same size.
And my small bust and fairly narrow waist often puts me in dress or top/blouse sizes that my tall frame shoulders doesn't fit into. Which, like mentioned earlier, can cause some 'interesting problems' with raglan sleeves.
So let's get nerdy and talk about how you fix that if you are in the same boat! And even if you are not in the wide shoulder boat, this post might still be useful for you.